UPDATE: 10-4-2023 - I accidentally put the wrong IP address in the /etc/exports file for macOS. It has been corrected below.
I really like coding on MacBooks for reasons spelled out in a previous post. I also really enjoy hacking on FreeBSD. So how do I bring these two seemingly disparate operating environments together in a developer’s paradise? By running an ARM based FreeBSD VM on the MacBook, of course!
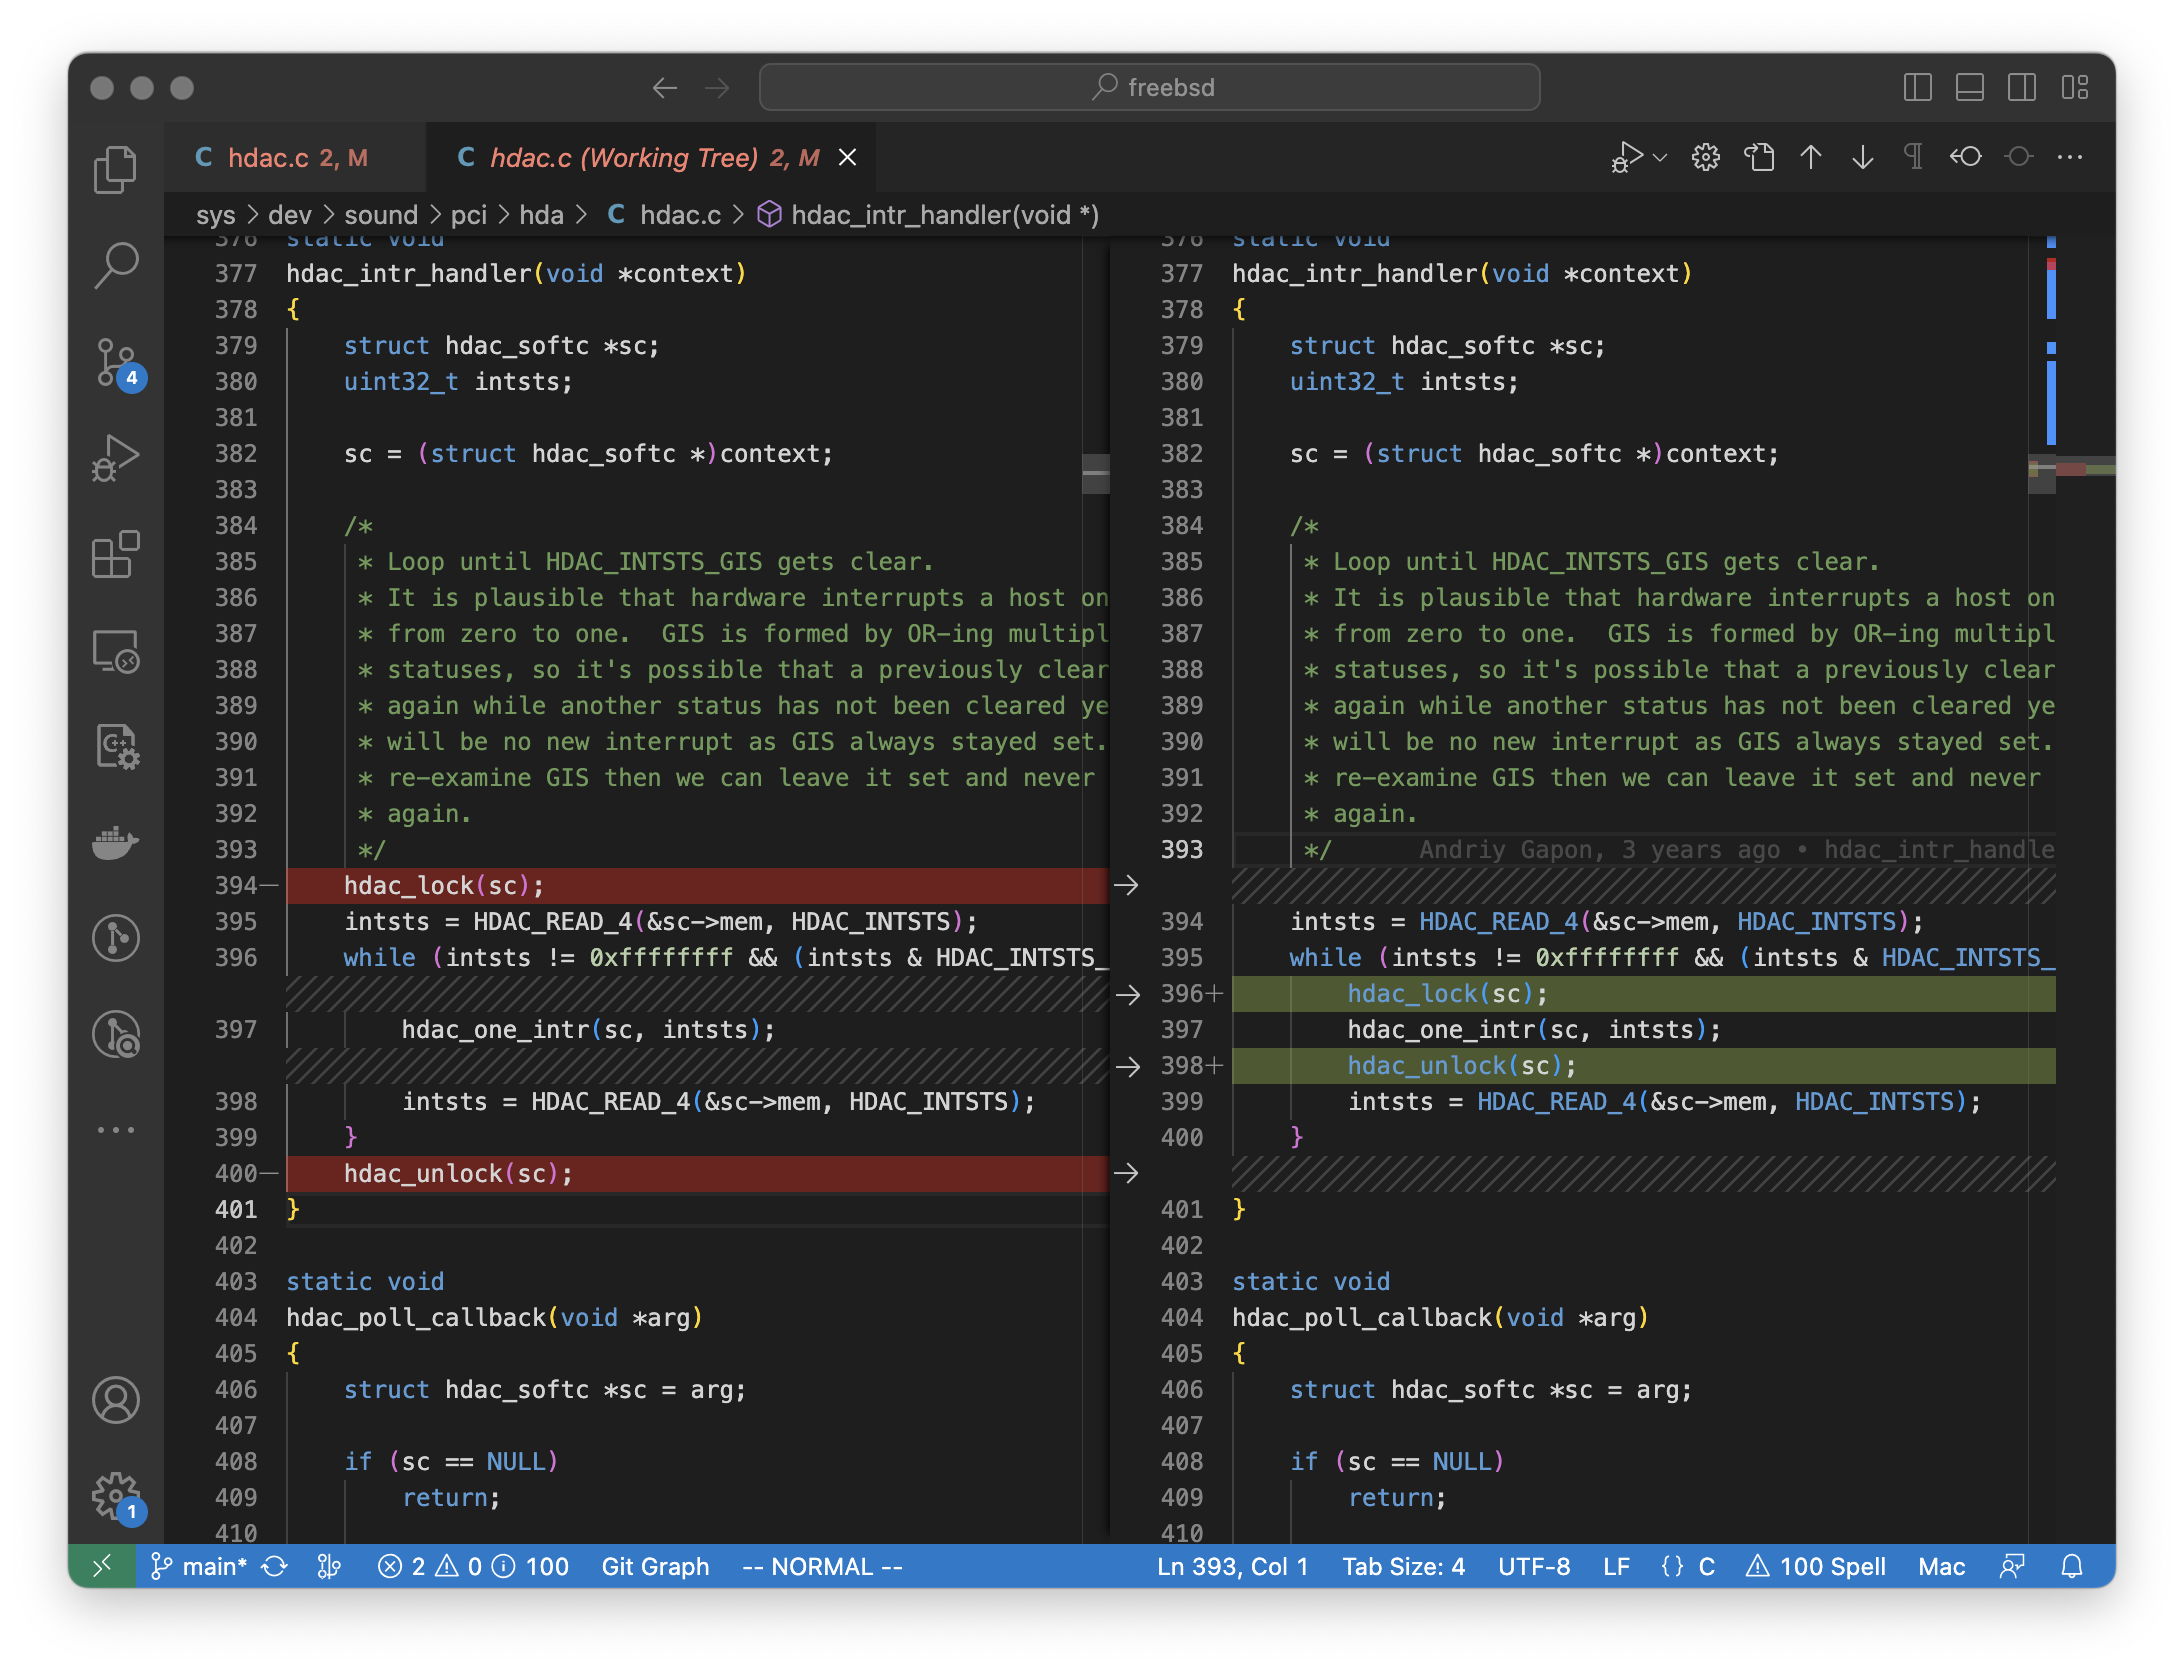
I have also mostly transitioned to coding with VS Code. I know it’s cliche nowadays to migrate to VS code from vim, but frankly VS Code provides a great IDE and the plugins make it super easy to bounce around a large code base. In my ideal coding environment, I’d like to hack on FreeBSD using VS Code on the MacBook while also being able to test my updates on a native FreeBSD OS.
In theory, you could do this by pushing to a git repo and then pulling down the changes onto a system running FreeBSD; I’ve certainly had to develop that way in the past. In practice, however, all that pushing and pulling is incredibly slow. It increases the iteration time for testing your code to intolerable levels.
Ideally, you’d want to develop on a system running FreeBSD so that your iteration times can be as low as feasible. But then you lose the magic that is Apple’s marriage of OS and hardware. In my mind, the next best choice is running a VM that has access to the source on the host. That way you can edit the source on the laptop but build and test in the VM.
Since ARM is now a tier 1 supported architecture on FreeBSD, it’s become straightforward to create a VM that runs on the new Apple Silicon that run the latest MacBooks. The virtual machine software QEMU takes advantage of Apple’s hypervisor.framework for running ARM VMs speedily. This means it’s possible to build FreeBSD in a reasonable amount of time inside a VM.
To marry VS Code with building FreeBSD natively, I decided to use NFS. Believe or not, macOS Ventura still supports an NFS server and client. The documentation is a bit sparse on Apple’s website on how to use it but since macOS mostly uses BSD semantics for configuring the NFS server, it’s relatively easy to get it working.
The way I do it is to export FreeBSD source code from my home directory on my MacBook via the nfsd daemon. Then, I edit the source on the MacBook using VS Code and compile it from the shared folder on the VM.
NFS on macOS isn’t completely forgotten about and is configured very similarly to FreeBSD’s NFS server. Edit your /etc/exports file
|
|
Start the nfsd server on the MacBook
|
|
macOS no longer supports kernel extensions and so the tuntap kernel interface no longer works. QEMU developed a solution for this using the hypervisor.framework called vmnet. Here’s my script for starting a FreeBSD VM and creating a vmnet NIC.
|
|
By default, the QEMU FreeBSD VM is handed the IP address 192.168.64.2 and the MacBook is 192.168.64.1. Mount /usr/src in the FreeBSD VM to the location of FreeBSD source on the MacBook via NFS with the following command.
|
|
If you don’t want to muck about with a command line virtual machine manager, I’m told UTM is a great GUI frontend for macOS QEMU but I’ve never tested it myself.
I was able to run buildworld in 47 minutes this way using an M2 MacBook Pro and buildkernel in 4 minutes. After installing both kernel and world and rebooting, I had a functional FreeBSD VM running CURRENT.
|
|