I’ve been using FreeBSD on and off for many years now. I really like the project’s focus on quality engineering and documentation.
Recently, I’ve begun to look for ways to increase my skill as a software engineer while also contributing to open source software once again. Happily, joining the FreeBSD community as a developer meets both of these goals.
With this in mind, I decided to purchase a UNIXy compatible laptop to develop on. So last year, I picked up a Lenovo X1 Carbon (Gen6) Thinkpad as a personal laptop and believe it will suit my needs just fine. I ran FreeBSD Current on it for a long time before switching Ubuntu 20.04 to play around with Ubuntu’s lastest ZFS support.
The Linux-isms finally annoyed me enough to make the switch back to FreeBSD. This time, however, I decided to install FreeBSD 12.1-RELEASE since I’ll be using this system as a daily driver and I’d like to spend more time writing software and less time compiling it. :)
So, without further ado, here are the nerd specs for the laptop:
- CPU: 4 core Intel(R) Core(TM) i7-8550U CPU @ 1.80GHz
- MEM: 16 GB LPDDR3 2133MHz
- HD: 512 GB NVME
- Graphics: Intel UHD Graphics 620
- Wireless: Intel 8265 802.11AC
I copied the memstick image to a spare USB thumb drive I had lying around using the method described in the handbook.
During the install, I selected Auto ZFS for the entire drive and encrypted it with GELI. The install only took a few minutes. I installed a few of the packages and the ports tree.
Once the install was completed, I rebooted the system and took out the USB drive. On the laptop’s screen, the text for the console is quite small by default. The first thing I did after the initial reboot was change the console font by editing /etc/rc.conf to add the following:
|
|
After switching to the terminus-b32 font, the console looked like this:
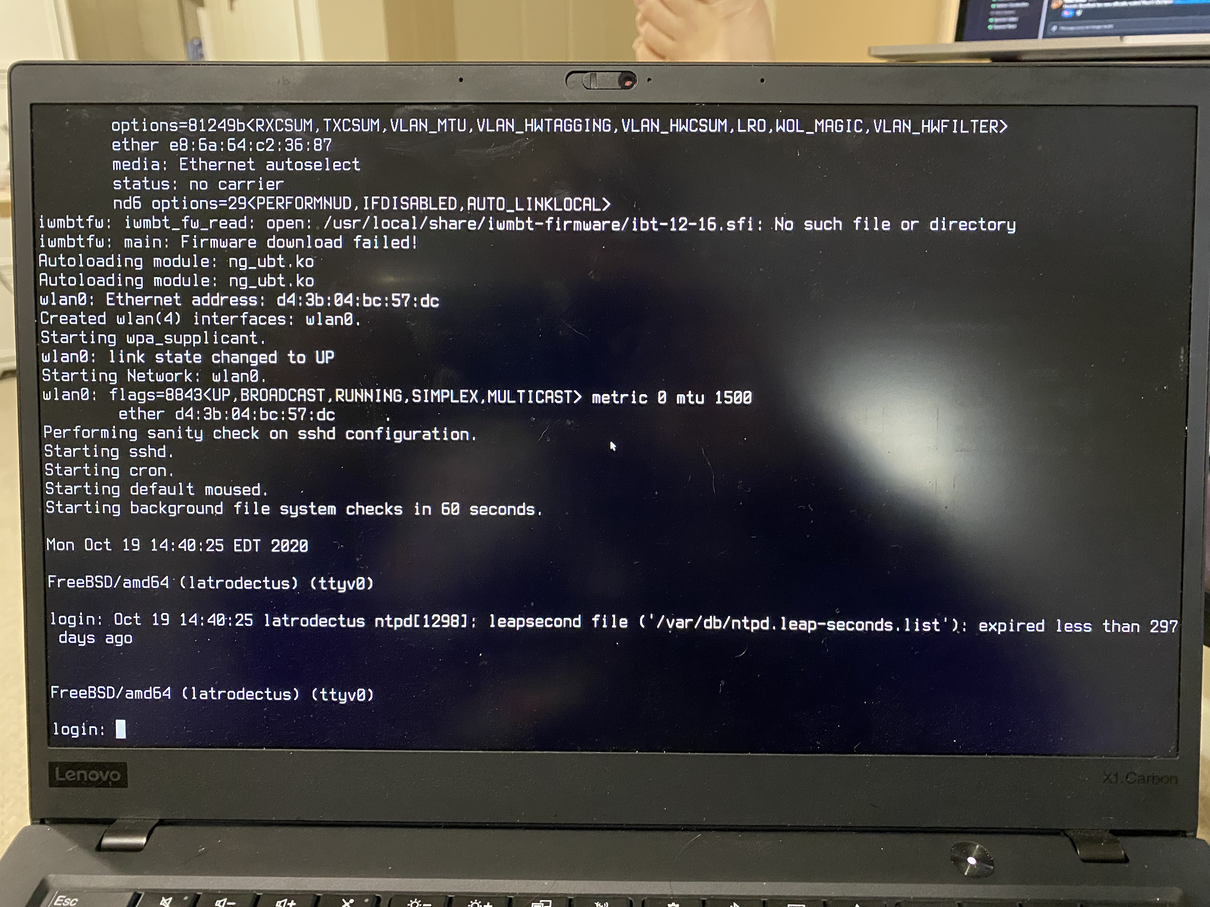
I also need to install X.org to make this laptop more functional. Thankfully, the iwm wireless driver is functional right out of the box. No fiddling with custom kernels, yay! The installer was able to pick up the wireless card without any intervention at all. Kudos to the kernel team!
Since I had a working wireless network connection, I then updated the base install to the lastest version. I really, really like boot environments (I’m a Solaris admin from back in the day) and love using bectl to easily and safely update my system base. If you’ve ever had an Ubuntu software update go wrong that left you picking up the pieces of your system, you’ll really see the value in this.
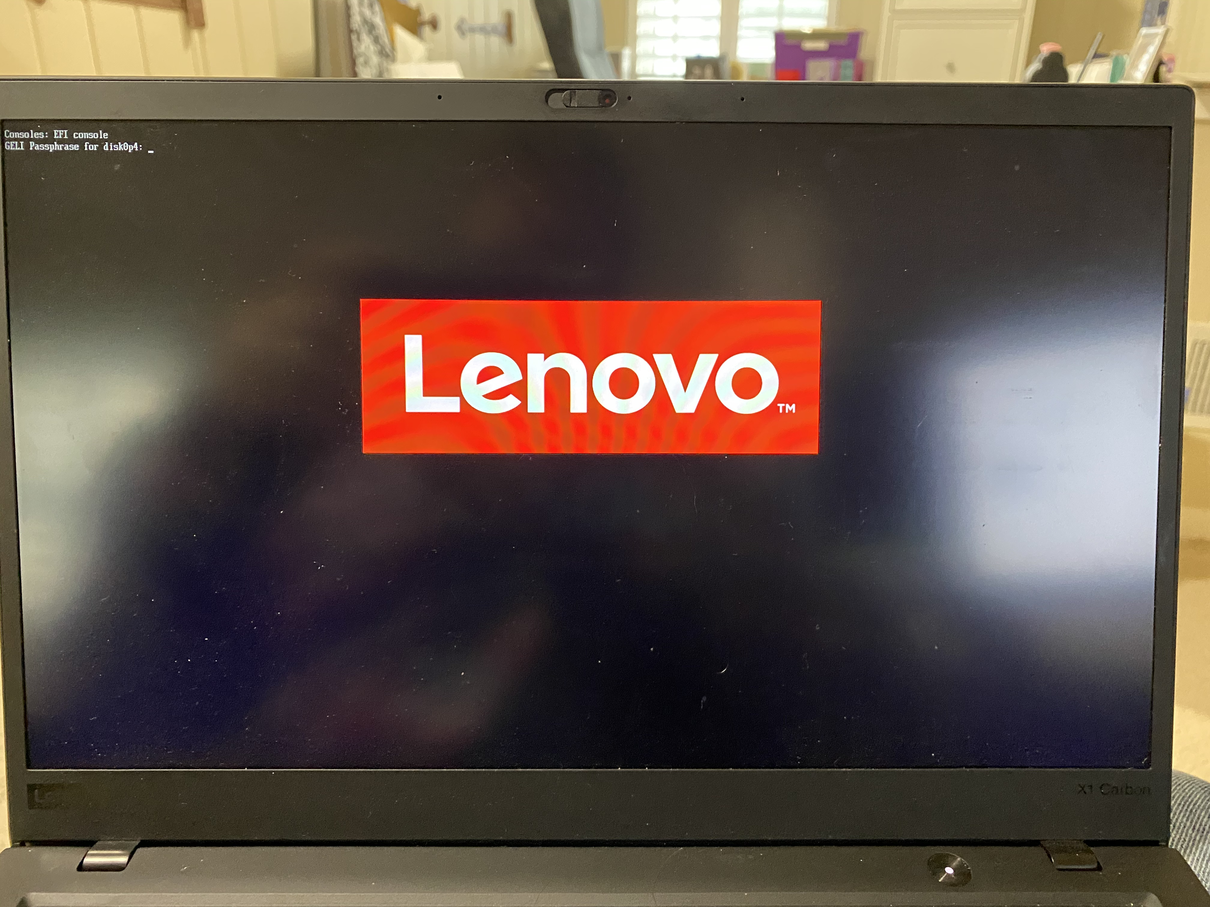 On rebooting, GELI asked me to type in my full disk encryption password. I’ve used several full disk encryption systems over the years and overall generally prefer GELI. It’s incredibly simple to use and setup and generally just works.
Once the system was back up and running, I updated pkg and quickly installed tmux and doas (an easy to configure sudo replacement). The doas configuration is incredibly simple. Just edit /usr/local/etc/doas.conf and add permit nopass keepenv username as root (change username to yours). Then run doas [command] instead of sudo [command]. The primary reason to use doas is how simple the configuration is compared with sudo.
Next I installed the FreeBSD DRM graphics driver since this particular laptop uses an Intel graphics chip that’s compatible with the i915 driver.
|
|
The X.org configuration does not need to be changed, but the system needs to be told to load the driver on boot so I edited rc.conf and added:
|
|
Once the graphics drivers are ready to go, installing X.org is as simple as executing pkg install xorg. The FreeBSD handbook page
on installing X.org is quite good but you shouldn’t need it to configure anything other than adding your username to the video group. The loaded i915 driver should be recognized by X and your screen started with the default window manager, twm.
|
|
I rarely use the caps lock key on purpose and thus have a habit of remapping caps lock to ctrl on most systems I own. I use xmodmap (you must be running X.org) to update the keyboard mappings for that session. I have not looked into a way to remap the keys on the console because I don’t spend much time on it.
|
|
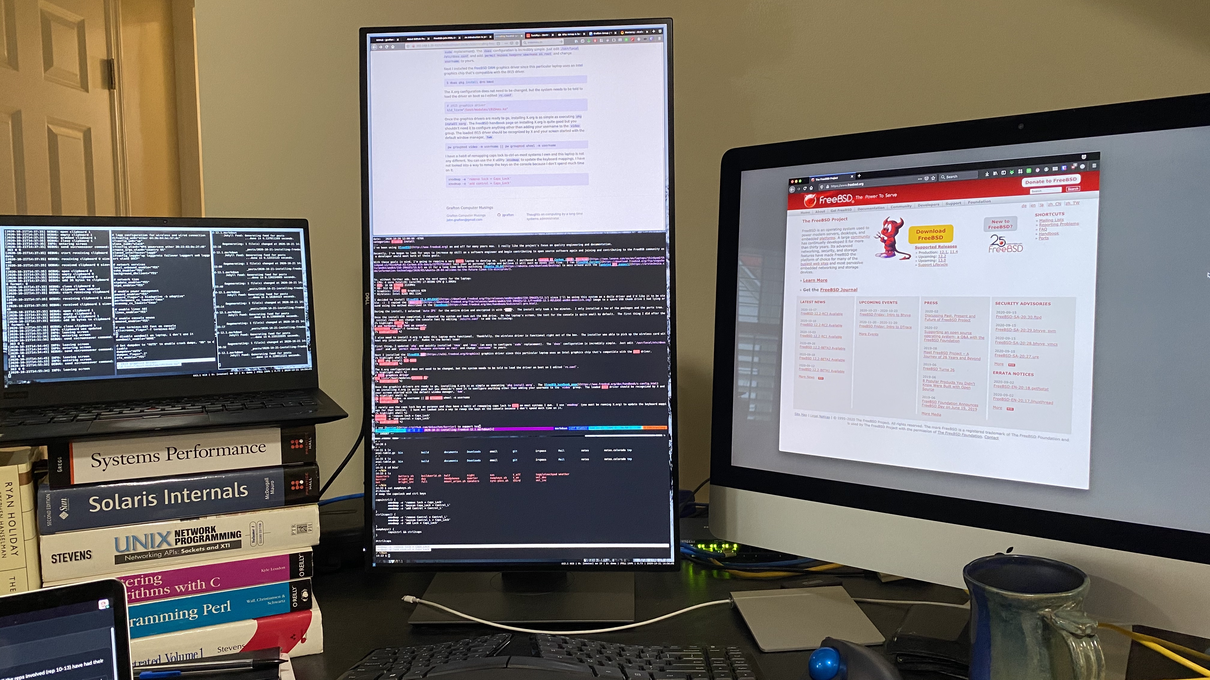
My keyboard and mouse are connected to a 2017 iMac which is my primary workstation in my home office. I use barrier as a KVM (keyboard, video, mouse) extender to the iMac. I prefer to have a vertical display in the middle of my workspace while coding. It’s a little bit off the beaten path to setup displays in this manner but I’ve found it to be very palatable during development. The vertical arrangement works really well with a tiling window manager like i3. The monitor in the middle is a Dell UltraSharp U2720Q.
If using a veritcal monitor, use xrandr to rotate the monitor screen 90 degrees to the left (or right). Find the output name of the montior by running xrandr with no options (DP-1 in my case). I have the following line in my .xinitrc:
|
|
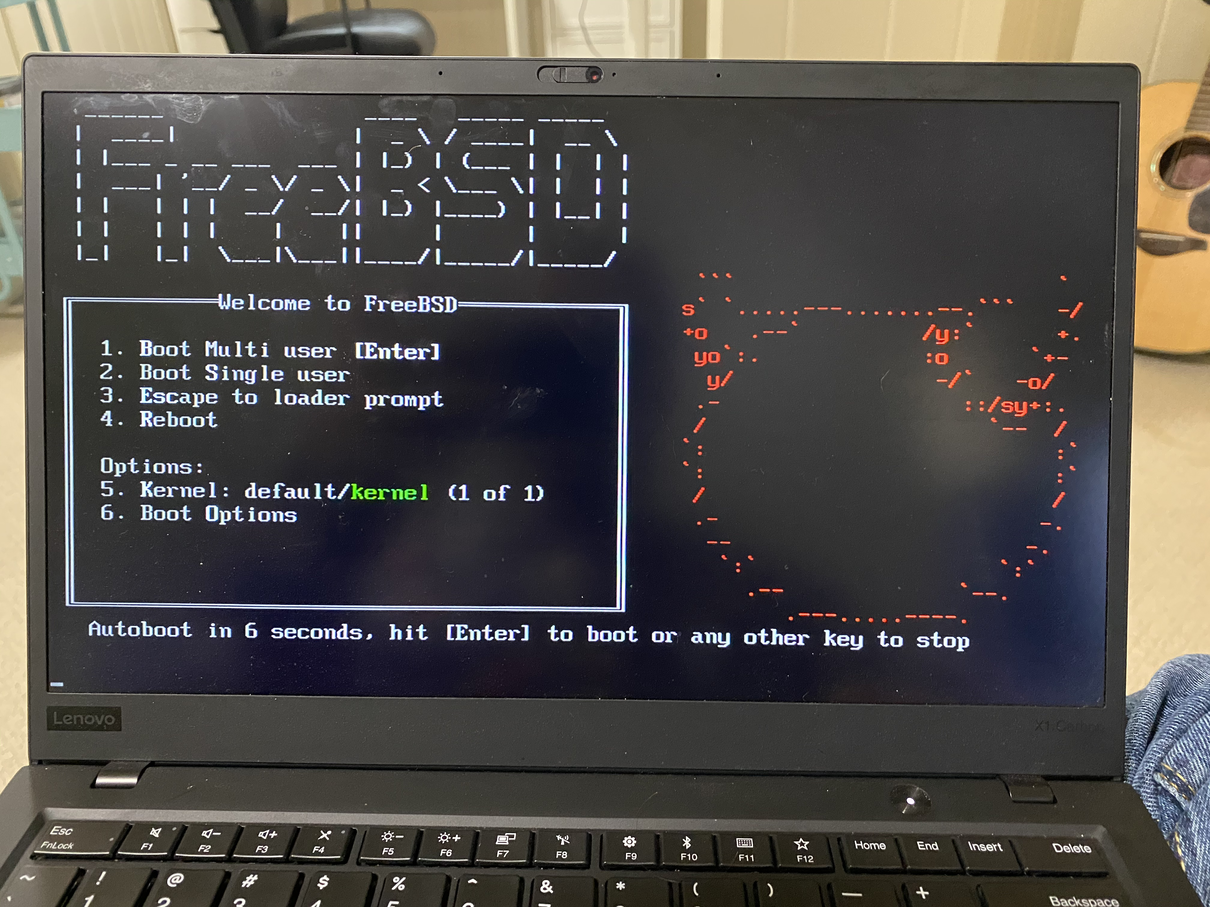
Finally, I rather prefer having the boot screen use the Beastie ASCII startup art than the new logo. Add the following text to /boot/loader.conf to get Beastie back!
|
|
